
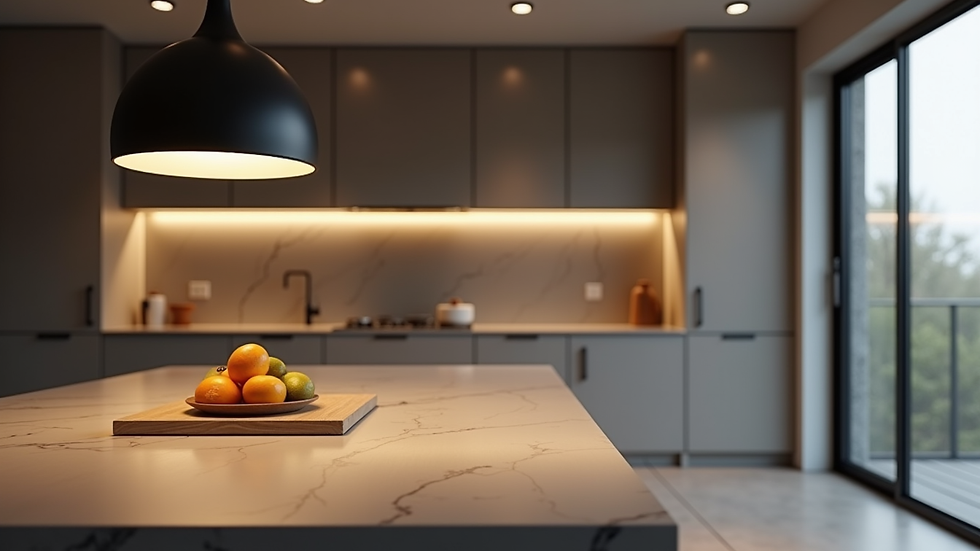
How to Create a Luxury Chandelier and Do a Perfect Installation
- ANDRES GARCIA

- May 28
- 4 min read
Creating a luxury chandelier is more than just picking a beautiful light fixture. It’s about making a statement that transforms your villa, palace, or hotel into a place of elegance and grandeur. But here’s the truth: anyone can hang a chandelier, but a perfect installation is what makes it truly WOW. I’m here to guide you through the process of creating and installing a luxury chandelier that will impress every guest and elevate your space.
Choosing the Right Luxury Chandelier
The first step to a stunning chandelier is choosing the right one. Luxury chandeliers come in many styles, sizes, and materials. You want something that fits your space and matches your design vision. For example, a grand crystal chandelier can add sparkle and light to a large hall, while a modern metal design might suit a sleek, contemporary room.
One excellent example is the Architectural Lights Crystal Elegance Chandelier. This chandelier features hand-cut crystals that reflect light beautifully, creating a dazzling effect. It’s perfect for large spaces like hotel lobbies or palace ballrooms. You can check it out here.
Another option is the Decorative Lights Royal Glow Chandelier. This piece combines classic design with modern LED technology, offering both style and energy efficiency. It’s ideal for villas that want a mix of tradition and innovation. More details are available here.
When selecting your chandelier, consider:
The size of the room
The height of the ceiling
The style of your interior
The type of lighting you want (warm, bright, dimmable)
Preparing for Installation
Before you start hanging your chandelier, preparation is key. A luxury chandelier is heavy and often complex. You need to make sure your ceiling can support it safely. This means checking the ceiling joists and possibly reinforcing them.
Also, plan the electrical wiring carefully. The wiring must handle the chandelier’s power needs and be installed according to safety standards. If you’re not an expert, hire a licensed electrician. Safety is not a place to cut corners.
Here’s what you should do before installation:
Measure the ceiling height and room size
Check the weight of the chandelier
Inspect or reinforce the ceiling support
Plan the electrical wiring and switch placement
Gather all tools and materials needed
Step-by-Step Guide to Perfect Installation
Installing a luxury chandelier is a step-by-step process. Follow these steps to ensure a flawless result:
Turn off the power at the circuit breaker to avoid any accidents.
Assemble the chandelier on the ground if it comes in parts. This makes it easier to handle.
Install the mounting bracket securely to the ceiling joist or reinforced support.
Connect the wiring carefully, matching the live, neutral, and ground wires. Use wire nuts and electrical tape for safety.
Lift the chandelier with help. Luxury chandeliers are heavy and fragile. Use a sturdy ladder and have at least two people.
Attach the chandelier to the mounting bracket and secure it tightly.
Install bulbs according to the manufacturer’s instructions. Use the recommended wattage.
Turn the power back on and test the chandelier. Adjust the height or angle if needed.
Tips for a WOW Effect
A perfect installation is not just about safety and function. It’s about creating a WOW effect that makes your chandelier the star of the room. Here are some tips:
Use a dimmer switch to control the light intensity. This adds mood and flexibility.
Clean the crystals or glass regularly to keep the sparkle alive.
Position the chandelier so it’s centered in the room or above a key feature like a dining table.
Combine the chandelier with complementary lighting, such as wall sconces or floor lamps, for layered lighting.
Comparing Two Luxury Chandeliers for Your Space
Let’s compare the Architectural Lights Crystal Elegance Chandelier and the Decorative Lights Royal Glow Chandelier to help you decide which fits your project better.
| Feature | Architectural Lights Crystal Elegance | Decorative Lights Royal Glow |
|-----------------------------|--------------------------------------|-------------------------------------|
| Style | Classic crystal | Classic with modern LED |
| Size Options | Large, grand sizes | Medium to large |
| Energy Efficiency | Standard bulbs | LED technology |
| Installation Complexity | High due to weight and parts | Moderate, lighter materials |
| Ideal For | Palaces, large hotel lobbies | Villas, modern luxury spaces |
| Price Range | High | Moderate to high |
Both chandeliers offer luxury and style, but your choice depends on your space and preferences. The crystal elegance chandelier shines with traditional beauty, while the royal glow offers a modern twist with energy savings.
Final Thoughts on Creating and Installing a Luxury Chandelier
Creating a luxury chandelier and installing it perfectly is a rewarding project. It takes planning, the right product, and careful installation. When done right, your chandelier becomes a stunning centerpiece that adds value and beauty to your villa, palace, or hotel.
Remember, the key is not just the chandelier itself but how it is installed and integrated into your space. Use quality products like the Architectural Lights Crystal Elegance Chandelier or the Decorative Lights Royal Glow Chandelier to ensure lasting beauty and performance.
Take your time, follow the steps, and don’t hesitate to get professional help for electrical work. Your perfect chandelier awaits, ready to WOW every visitor with its light and luxury.
Start your project today and transform your space with a chandelier that shines as bright as your vision!

Comments